Pro tips to greatly improve your photography
I am often asked for advice about taking pictures in the hope I will have one miracle gadget you can buy, or a little trick that will change everything. When it comes to great photography, there is no single silver bullet solution. However, focusing on some critical fundamentals will help considerably.
Start with an idea
This might sound obvious, but it doesn't matter if you are doing a staged image involving sets and props or shooting a news event. A good first step is to always think about how you’re going to deal with the situation. Are you required to follow a brief to please a client, or will you try to rock the boat and show something in a new light? Ultimately, if you can visualise a final image, you can then figure out how to make it.

In the first instance, you will need to do lots of planning to get all the elements you need in the same place at the same time. Then once everything is set, choose your point of view and light it for that point of view.
Deciding on your point of view is also crucial. At a news event you are seemingly impartial, but you put what you want in the frame, so there’s always a degree of subjectivity. At a rally, you can choose to present valiant protesters with a just cause suffering police repression, or an unruly mob that needs to be contained. What is your point of view? And what point of view do you want to present even if it's not your point of view?
Lighting
When you are setting up shots, it’s your responsibility to light them to the best of your ability with the equipment you have or can hire or borrow. There are a few versatile and compact tools that will greatly assist even if you only have one light or a speedlight. These are small portable items.
- A remote trigger like a PocketWizard allows you to easily put the light where you want and fire it remotely.
- A deep, silver umbrella with a front diffuser cover. Profoto has them in a variety of diameters. With the diffuser, it works like a soft box, and without you get a stronger, focused light.
- A grid will give you a spot with soft edges falling off rapidly to black.
- A Lastolite collapsible reflector - white on one side and silver on the other.

Of course you can build out from these basics using multiple lights and shapers depending on the shoot. One way to check your setup with multiple lights it to turn one off at a time after you have set up. If the shot is missing something turn it back on. If it looks better leave it off.
People often ask for recipes and although it is possible to draw a lighting diagram for a type of shot, I always start fresh unless I am repeating the same shot for the same client, then I’ll rely on a diagram.
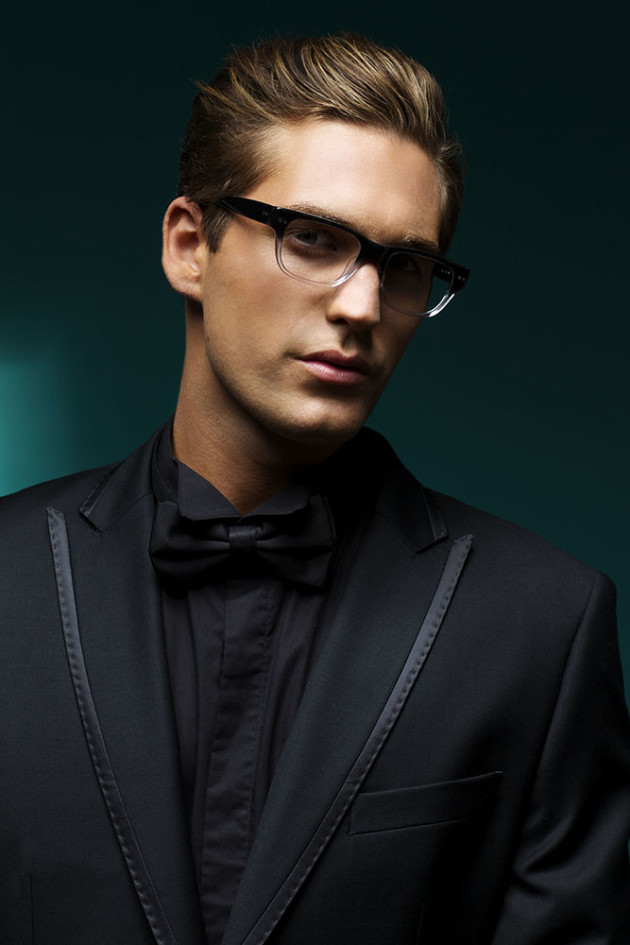
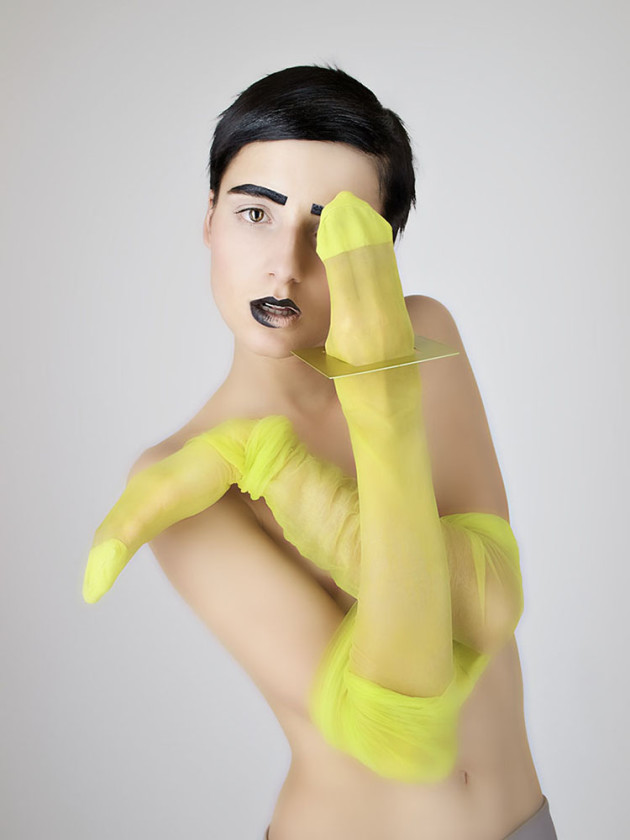
I start by thinking about what look I want and visualise it. Then, I work out how to achieve that look. For a soft, even light with few shadows, I would be reflecting light all around. With more direct light, I think about the shadows I want and then decide what to use. One day it will be a soft box, the next an umbrella – it all depends on the subject, the colours and the textures. The key is to experiment a lot with different lights and reflectors to build a really intuitive understanding of what everything does. Also, observe light outdoors to understand what it’s doing.
In the case of sporting events or weddings, you are often unable or not even allowed to set up lighting. You then need to check out the venue beforehand and establish where you are going to get the most shots with the best light and determine what is going to be more dramatic, more consistent and most reliable. You also need to choose a position and think of alternatives spots that you can move to without disrupting the event.

Direct the action and emotion
You have a concept, and you have lit it. Now what? If it's a still life image you press the shutter and hope your exposure is perfect.
However, if your shoot involves people, then you are now the director. And you are responsible for making all the decisions about what you want them to do, and how do you want them to look. If you are not used to asking people to do things, this can feel uncomfortable. Remember, your subject wants a good result as much as you do and is usually relieved to be told what is expected them. You can bring some images as references or describe a scenario to get them on track. Your subject doesn't know what you see through the lens, so ask for what you need. After a few shots, you can show them the differences between a successful shot and a less strong one. They will start doing exactly what you want once it is clear.
Edit
You have taken lots of shots. You want the one image that tells the story the way you want to, so it's time to cut it back to the strongest image. If the shoot is for a client, you may need to present a shortlist for them to choose from and have the final say, but all those shots should be ones you are happy with.
Your story
Above all, make sure your shots have your particular strength and style that becomes your signature. This will be in your composition, your posing, and especially in your lighting, whether you are setting it up or using available light.

Five tips for better lighting
1. Observe
Whether you are using the world’s best lighting equipment or improvising in a difficult environment, look at what the light is doing to your subject. Light is light. Expensive gear just makes it easier, but doesn’t replace your vision.
2. Keep it simple
Many of the world’s most iconic shots were taken with one light source. There is a place for shots with multiple lights, but make sure they are adding to your image.
3. Be prepared
If you are shooting people, try and have your lighting set up and ready so you can pay attention and engage with your subject. Be prepared to change and adjust the light later to best suit your subject’s face.
4. Engage your subject
Even if your subject is looking off camera, the viewer needs to feel their presence. If you are distracted and fiddling with your camera, your subject may drift off and appear absent.
5. Direct
Take control – you have set up light to suit your subject, but you will need to direct them to work with it.
Learn more
Don’t miss out on the opportunity to take your photography and lighting skills to the next level with Collie’s Beauty and Portrait Lighting Workshop being held in Sydney on 16 July. Follow this link for all the information.

About Peter Collie
In his teens, Peter Collie discovered his love of photographing people, and through family and acquaintances borrowed a camera, learned to develop film, and make prints. Later, discovering Polaroid really revealed the core of his passion - the moment you see the image that was moments ago in your mind's eye. Collie likes the prints, seeing work in exhibitions and on billboards, but most of all, he loves the act of photography.
Now based in Sydney, Collie has worked in Canada, the US, England and France as well as other exotic spots including Jamaica and Mexico. His work has appeared in magazines such as Vogue, Elle, New York Magazine, GQ, and many others. As well as his editorial work, he has shot campaigns for many major brands and an assortment of musicians for CD covers and promotional material.
Collie has travelled and presented workshops all over Australia for the Moran Art Prize, Apple, HeadOn Photo Festival, Aperture Awards and Olympus.

